You asked for more information about making video lessons for students during distance learning. I’ve got you covered! Read on, teacher friend.

Why are you prerecording videos?
I’ve moved to an interventionist role this year. Because of that, my program isn’t starting up right away and I won’t have students assigned to me for the first few weeks.
Of course, this year is far from normal, so we’ve decided that I’ll spend some time creating a bank of standards-based videos for the students (and teachers) that I will be working with this year.
I’m recording short minilessons that teachers can send to parents/students if they need extra support outside outside of the synchronous learning that they are doing.
When I start meeting with my students, it will be live, not prerecorded.
What do you use to record your videos?
I use my school laptop to record videos. I got lucky with an upgrade right before COVID, so the video and audio quality is pretty good. This is just a personal preference. I know the quality would be even better if I used my phone, but I’m not making professional videos and I’m not trying to become a YouTuber… just making video lessons for my students, ha!
As far as software, I’m using Loom to record my lessons, and I LOVE it. Sometimes I use the Chrome extension, and sometimes I use the desktop version. It just depends on what I need in the moment.
As of March, a pro account on Loom is free for education. Just make sure you sign up using your school email address!
Why do you use Loom instead of a different platform?
To be honest, I haven’t tried anything else. I heard about Loom, tried it, and it worked so well for me that I haven’t looked into anything else. (BTW – I’m not affiliated with Loom in any way.)
Here’s what I love about Loom:
- You can record just the camera, just the screen, or both at the same time!
- You have the option to “flip the camera” before you record, which means your text will always be readable.
- Editing (“trimming”) is simple. Make a mistake? No problem! Just crop it out after you finish.
- You can download your videos from Loom or you can share a direct link without having to download.
- Organize completed videos into folders. Share the folder using a link.
Why do you screencast?
This is another personal preference when it comes to making video lessons. I think it’s difficult to manage manipulatives, markers, a whiteboard, and other stuff in a small area in front of a screen. If you have a document camera, you can definitely make that work. However, when I first starting recording videos in the spring, my document camera was stuck at school and I got used to using online tools.
I often use a PowerPoint (or Google Slides presentation) to cover content. Screencasting allows you to go through a presentation with your voice (and your face, if you want!) being recorded along with it.
Other tools I love:
- Google Canvas – I use this as a whiteboard.
- Virtual Manipulatives – I use these for almost every lesson. Don’t miss the workmat backgrounds in addition to all of the manipulatives!
Check out this short video clip of me using Loom to record with virtual manipulatives:
How do you share videos with students?
As previously mentioned, you have a couple of options: download or share a link.
In the spring, I downloaded videos and uploaded them to Seesaw for my students to view.
Now, I’m sharing direct links with my teachers. They can share the link with students just like they would a YouTube link, or they can use the link to download the video themselves and upload it wherever. We are using Microsoft Teams, so links and videos will likely be shared that way or via email.
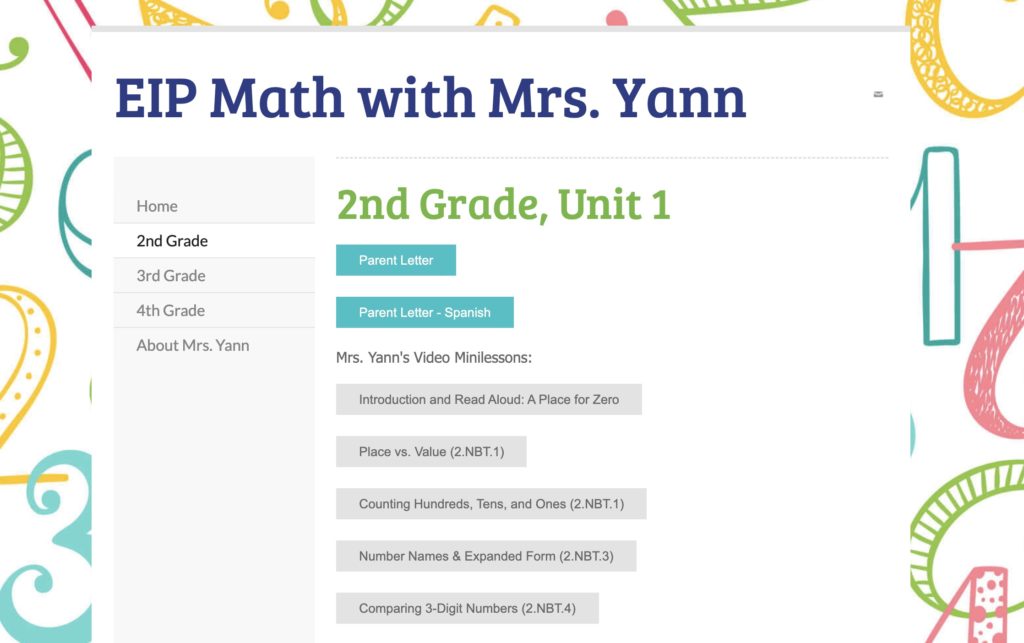
I am also hosting them on my website for parents to access!

What does your setup look like?
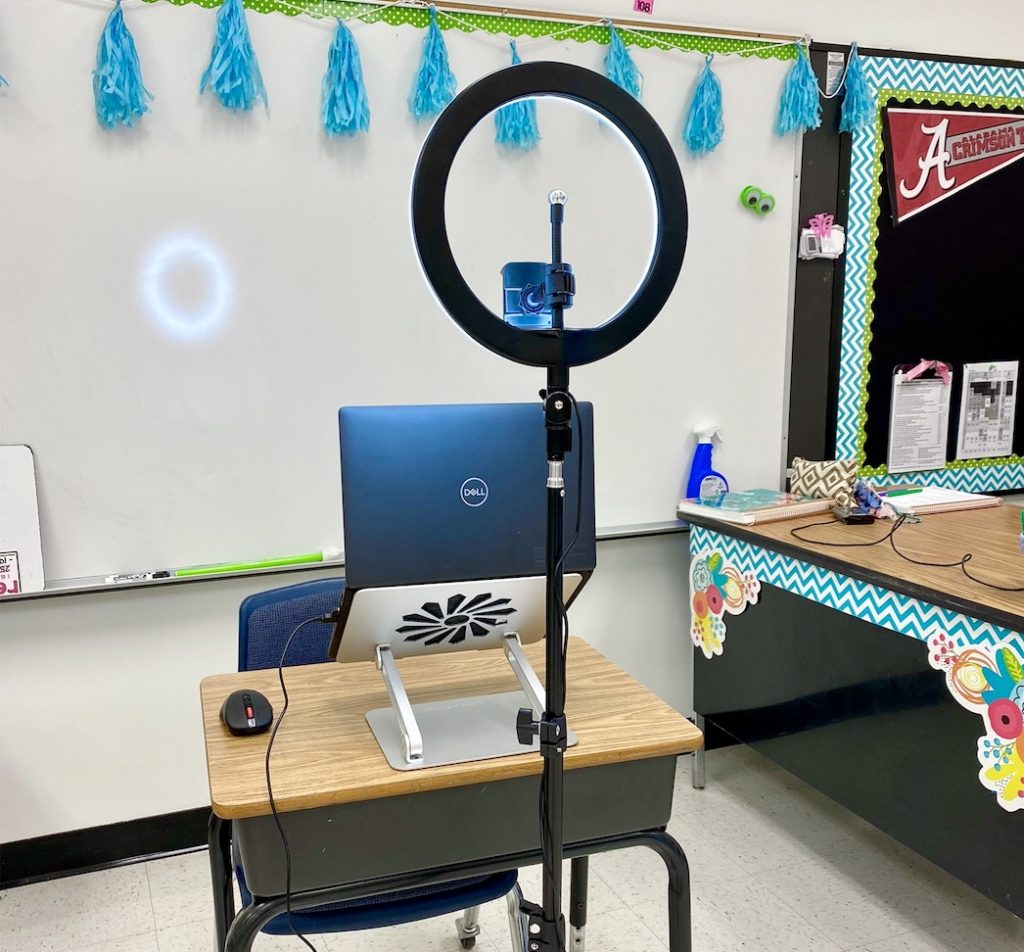
I used a stipend to purchase a laptop stand, which has been a game changer. It helps a lot with my videos, and I’m not having to stack my laptop on top of crates anymore to eliminate chins! It’s also totally saving my neck by allowing me to look straight ahead instead of down at my screen.

I also purchased a ring light. I try not to spend a ton of my personal money on my classroom, but I felt like a ring light was a must-have this year for making video lessons. The lighting in my room is decent, but the ring light certainly helps!
This ring light has a variety of lighting settings but doesn’t hurt my eyes, even on the highest setting. You can prop your phone in the middle of it at a tripod. It has a huge height range – use it tabletop, or set it up on the floor. Both work! The only downside is that it is not battery-operated; It has to be plugged in to a USB port. This actually doesn’t bother me one bit since I record with my laptop anyways.
How else can I help?
- How to Use PDF Resources Digitally
- Virtual Guided Reading Groups
- Using Choice Boards During Remote Learning
Please note that this post contains affiliate links. Purchasing through these links comes at no extra cost to you, but I do get a small percentage back that I use for the upkeep of this blog and other School and the City communications.

